
7 Tips for Choosing an Electric Marine Toilet
An Electric Marine Toilet can make life aboard quieter, cleaner, and more comfortable, but only when it suits the boat’s plumbing and power system. A compact head may look perfect in a catalog. Then the installation reveals awkward hose bends, limited access, or a pump that strains the battery. Small details matter.
Marine sanitation specialist Peggie Hall is known for practical guidance on avoiding odor and plumbing problems. In paraphrase, a useful principle from her work is: “Choose the system around your boat’s plumbing, not just its appearance.” That distinction is easy to overlook. It also deserves a second look, because no single toilet fits every vessel.
This guide introduces seven practical checks: bowl size, flush type, electrical demand, freshwater use, hose routing, maintenance access, and parts availability. Think of the space beneath the seat, the route a discharge hose must take, and the battery’s condition after a long day at anchor. Those details can shape daily comfort more than a sleek control panel.
Fit matters. So does serviceability. Compare manufacturer specifications, installation instructions, and warranty terms before choosing. If your existing hoses or wiring are old, include their replacement in the plan. A convenient upgrade can become frustrating when a small connector is hard to reach. And sometimes, we miss that until the first repair. These seven tips aim to make the choice more informed, while leaving room for the realities of your particular boat.
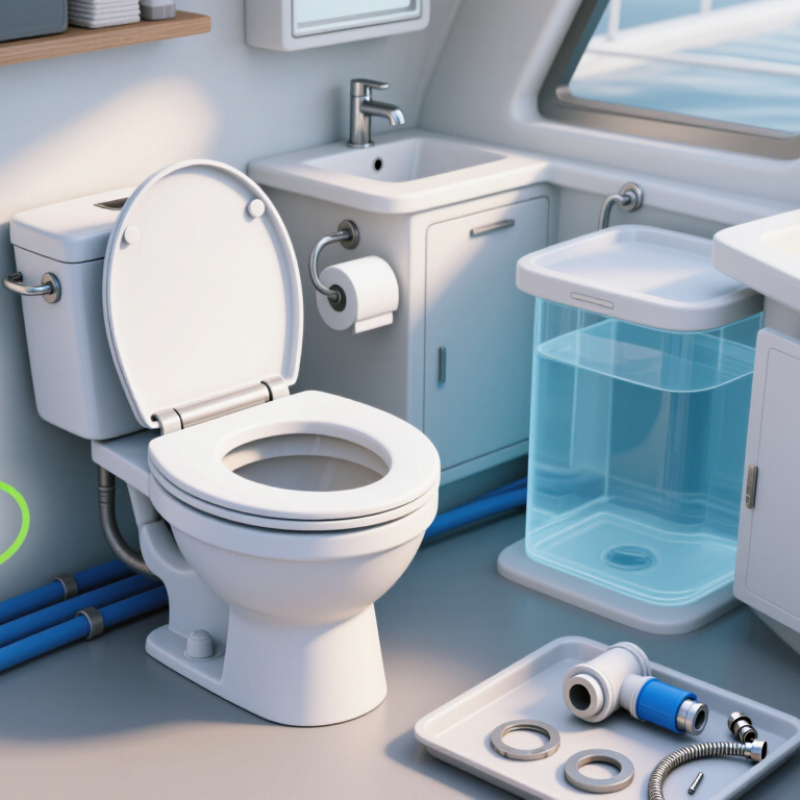
Assess Available Space and Installation Requirements
An electric marine toilet can fit neatly on a plan and still block a locker door. Measure the floor footprint, seat height, lid swing, and space needed to remove the pump for service. NMMA industry figures indicate that about 95% of U.S. boats are 26 feet or shorter, where every inch of cabin space matters. Space is tight.
Tip: Use cardboard to mock up the toilet’s footprint. Sit on it, open the lid, and check whether nearby doors and drawers still move freely. One easy-to-miss detail is knee room beside the vanity; a fit on paper may feel cramped aboard.
Before choosing a model, compare its installation manual with your vessel’s wiring diagram and plumbing route. Check the required voltage, cable size, hose diameter, and distance to the holding tank. Keep access to electrical connections and service parts; hiding them behind fixed panels can make a small repair a bigger job. Avoid sharp hose bends, and leave room to remove clamps. A tidy layout is useful, but it should not make routine inspection difficult.
| Tip | What to Assess | Practical Check | Why It Matters |
|---|---|---|---|
| 1. Measure the installation footprint | Available floor area, toilet base dimensions, and the position of nearby walls or cabinetry. | Measure the intended footprint and compare it with the selected toilet’s dimensional drawing, including the base and any side-mounted components. | A toilet may fit on the floor but still interfere with a door, cabinet, or other fixture. |
| 2. Check seat and lid clearance | Space in front of and above the bowl, plus room for the seat and lid to open fully. | Mark the bowl’s full outline and opening arc with tape or a cardboard template before installation. | Confirming the usable space helps prevent restricted access and contact with surrounding surfaces. |
| 3. Plan for service access | Access to the pump, wiring connections, hose clamps, and serviceable components. | Check the installation manual for required access directions and make sure panels or removable sections can be opened after fitting. | Routine inspection and repairs can be difficult if the unit is boxed in or hoses are inaccessible. |
| 4. Verify electrical supply | Onboard system voltage, circuit capacity, cable route, and protection requirements. | Match the toilet’s specified voltage—commonly 12 V or 24 V DC on boats—to the vessel’s system. Follow the manual’s wiring, fuse, and cable-size requirements. | Incorrect voltage or undersized wiring can cause poor operation, overheating, or equipment damage. |
| 5. Confirm water-supply compatibility | Whether the toilet uses freshwater or seawater, and where the supply connection can be routed. | Identify the vessel’s available water source and compare it with the toilet’s specified inlet arrangement, fittings, and supply requirements. | Water-source compatibility affects plumbing layout, water use, and the fittings needed for installation. |
| 6. Map the discharge route | Hose path, holding-tank connection, bends, clamps, and any required valves or vented loops. | Check the manufacturer’s plumbing diagram and applicable marine sanitation rules. Confirm hose diameter and routing requirements before cutting or drilling. | A suitable route supports reliable flushing and helps prevent leaks, backflow, and non-compliant discharge arrangements. |
| 7. Check the mounting surface and access route | Floor strength, mounting points, fastener access, and the route for bringing the toilet aboard. | Inspect the mounting surface and measure narrow doors, hatches, and passageways against the toilet’s packed and assembled dimensions. | A secure mounting surface is important underway, and access checks can avoid discovering too late that the unit will not pass through an opening. |